
Hopper Windows replacement company doorreplacementlocal.com: All the Stats, Facts, and Data You'll Ever Need to Know
Work With the Top Home Service Professionals
Table of ContentsWork With the Top Window InstallationLooking for New Windows?We Bring You New WindowsThe Best Window InstallationWe Bring You Home Service Professionals
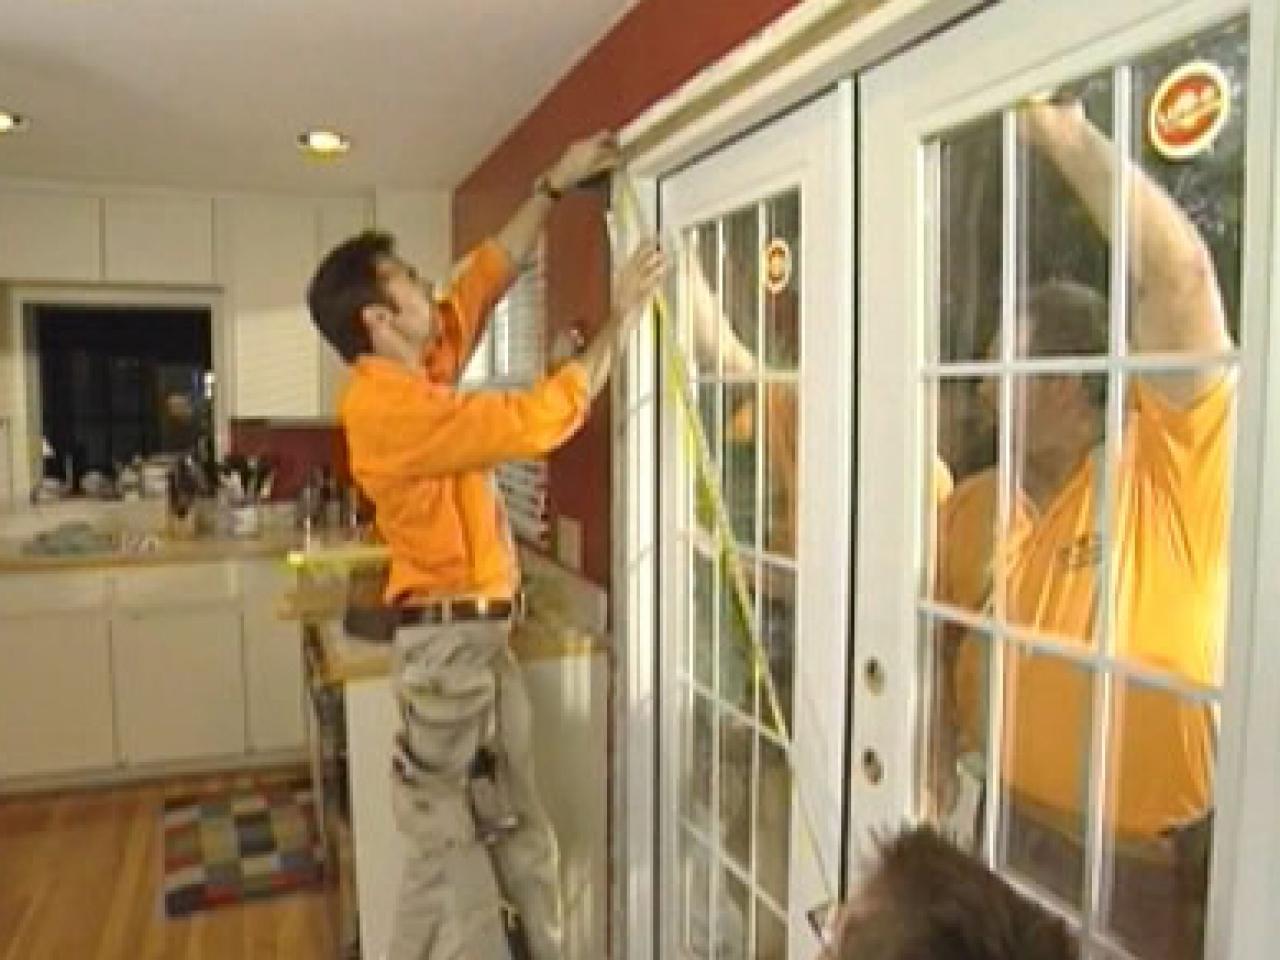
The rough opening (R.O. new windows.) ought to be 2 inches wider than the door not consisting of the jamb. Or stated another method, the door itself is 2 inches narrower than the framing opening. For example, a typical single entry door size is 3/0 or 3 feet, zero inches. The opening width for this door ought to be 3 feet, 2 inches, which enables the density of the jambs plus room for shimming.
In some methods setting up a pre-hung exterior door can be easier than installing an interior door, since there is a threshold in location to hold the jamb together in a total rectangle (window installation). The basic principle behind this installation method is to get the hinge side of the door jamb plumb, which in turn makes the threshold and header level and the strike-side jamb plumb.
Cut back any drywall that extends into the opening. Use a 6-foot level to check the hinge-side of the trimmer for plumb (new windows). If the hinge side trimmer proves to be out of plumb, you require to note in which instructions. Move the level away from the trimmer at one point until the bubble is centered and keep in mind the size of the gap to see how far the framing is out of plumb.
Line up the bottom in the opening initially and tip the door into place. With the door still closed, tap the bottom into location with your foot. It needs to relocate up until the back of the brick mold is against the sheeting (the layer of product behind the siding). Swing the door open so you can step inside.
Where to Find Window Companies
While holding onto the leading hinge, swing the door closed and take a look at the leading expose (the gap between the door and the header of the jamb). The Check out here space between the door and the jamb header need to be the very same all the way across. window installation. Make certain the door protests the hinge-side trimmer and note where there needs to be a gap between the jamb and trimmer (top or bottom) to get the top expose correct.
 The Top Rated New Windows
Put a cedar shim between the jamb and trimmer where needed. In this case the door jamb needed to be shimmed at the top. Shims must be put near the hinges to strengthen the backing near the hinge. While keeping pressure against the shim, swing the door open and nail through the jamb at the shim place.
Swing the door closed and examine how the door is sealing versus the weather strip on the strike-side jamb. After checking that the door seals all right, you can fill gaps between the hinge side jamb and the trimmer and add some more nails. Prior to proceeding to protect the strike-side of the jamb, it's a great concept to replace one of the leading hinge screws with a 3-inch screw to help hold the weight of the door.
While pulling the jamb inward to keep the brick mold against the sheeting, fill the gap between the strike-side jamb and the trimmer near the top. Nail through the jamb at the shim location. Go outdoors and pull the door near to check once again how it is sealing against the weather strip.
We Bring You New Windows
Fill the space in between the jamb and the trimmer just above the limit. Nail through the jamb at the shim location. Close the door to check the gap in between the door and the jamb at the door latch location. Add enough shim to get the space right. In other words, match the door-to-jamb spacing you can see at the top and bottom of the door.
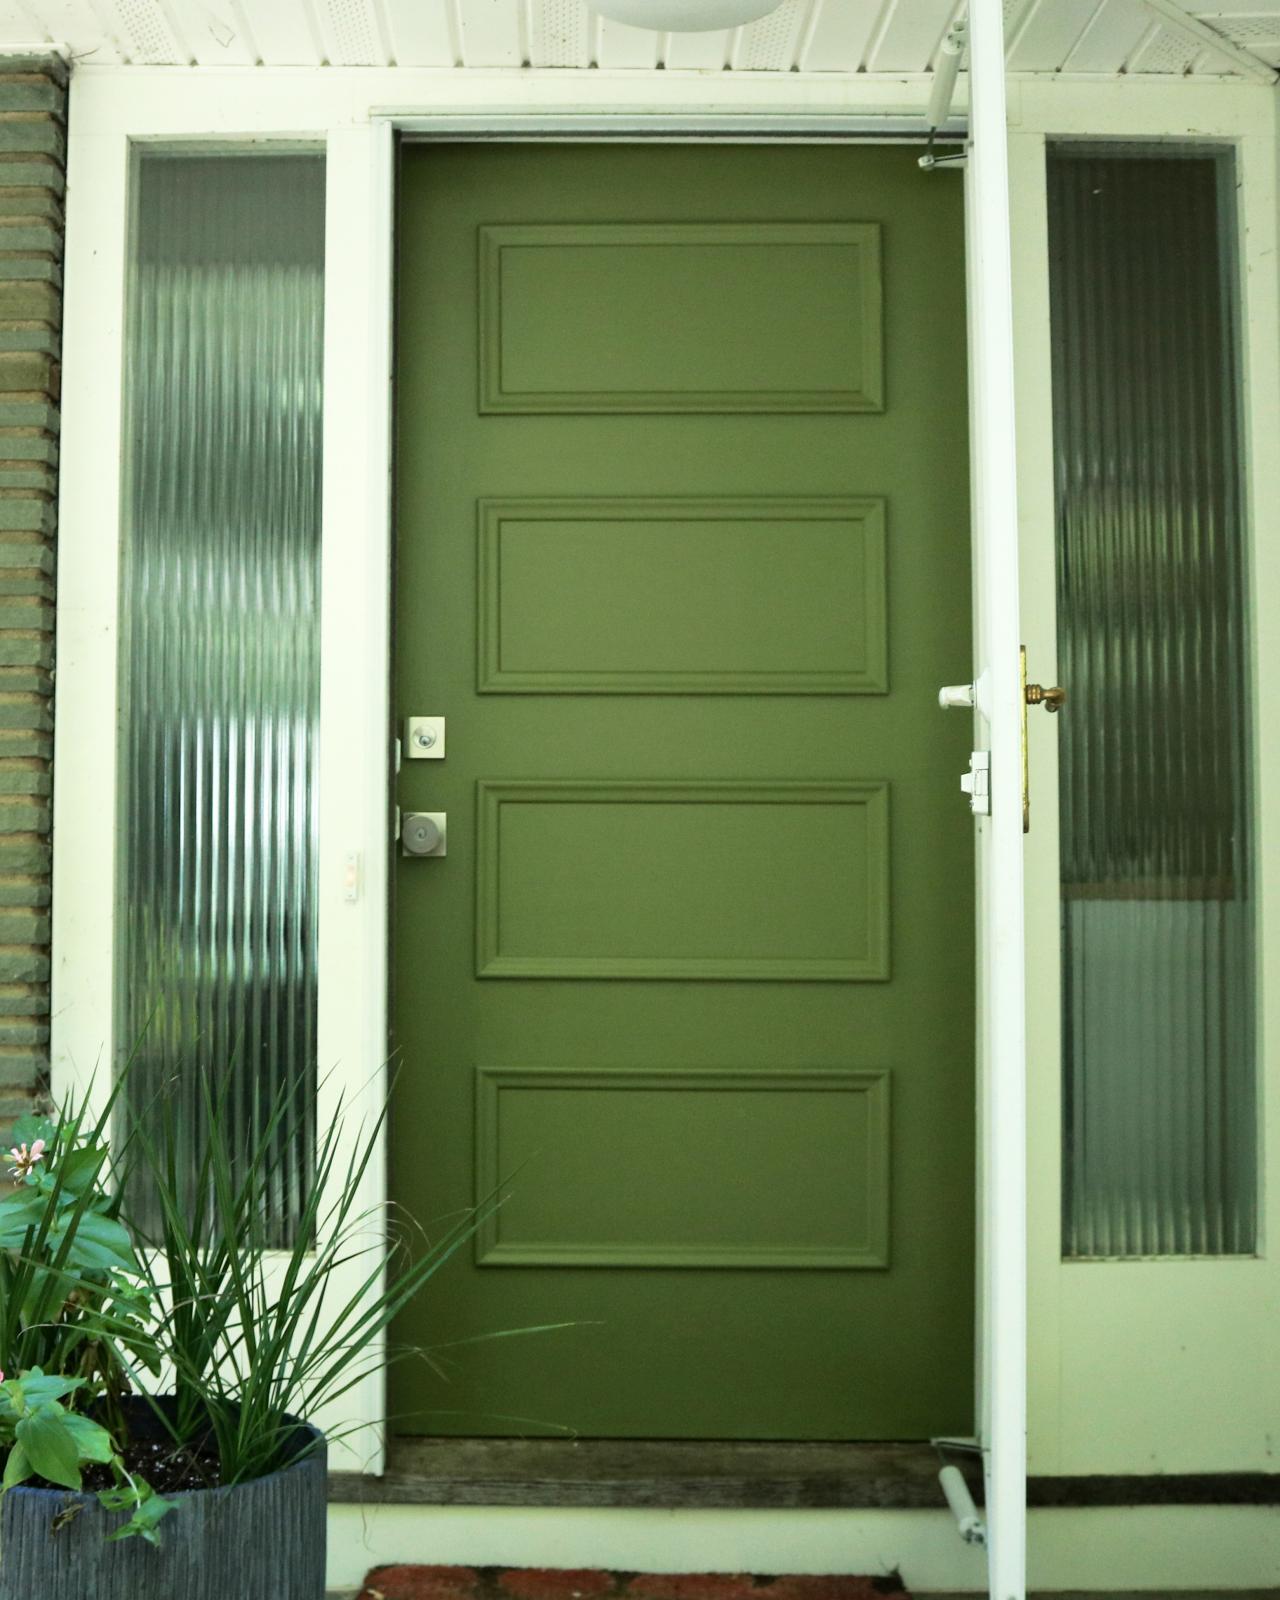
Lastly, nail the brick mold to the sheeting at several places around the outside of the door to finish the installation. It's not uncommon for the drywall to stand out beyond the jamb at some point around the door opening. There are numerous possible reasons for this condition. window companies. The framing could be out of plumb; the door could be deformed a bit; there might be something behind the drywall, and so on.
Take care not to damage the drywall outside of the location that will be covered by the casing, and beware not to strike the exposed corner of the jamb. Installing a pre-hung door makes lockset setup a lot easier. window installation. Ensure the lockset you install matches the door preparation. This will be figured out by the backset (normally 2-3/8 inches) and the strike plate mortises in the jamb.
The following hardware tips are designed to secure the deadbolt plate, to prevent splitting the jamb by pre-drilling and to prevent scratches by utilizing the best drill bits. Put the security plate for the deadbolt in location with the off-centered holes on the stop side (closest to the weather strip). Install the surface plate over the deadbolt security plate. Extend the deadbolt partially before installing the screws, which connect the within latch mechanism to the single keyed cylinder on the outside of the door. Utilizing a bit holder with a drive guide is a great way to avoid scratching the door knob when installing the handset.
Call us today for Replacement Windows
Set up a sill pan or flashing tape to the sill. This prevents water damage to the opening. Some sill pans can be created from bending sheet metal, or they can be purchased as a kit. Some kits can be found in 3 pieces to much better fit the opening. To set up, set the corner pieces on the sill then position the middle piece over top.
When the fit looks right, use PVC cement where the middle piece will overlap the corner pieces and press it into location. Hold the pieces together for a bit while the PVC cement forms a strong bond. Now take out the sill pan and apply three beads of caulk to the opening.
 Do You Need Help With Home Improvement Project?
To complete, seal along the back, the edges and the joints of the sill pan - home service professionals. For pointers on using caulk, have a look at our DIY Fundamentals video: How Do I Use Caulk? To use flashing tape to secure the sill, install it in areas. Apply the first pieces of tape to the bottom sill.
Constantly overlap flashing tape in a way that water will run from leading to bottom, and inside to outdoors. After covering the bottom of the frame opening, set up a couple of pieces about 6 inches up the sides of the opening.
Consumer Information on Replacement Windows
Concentrating on wood furniture, trim woodworking, cabinets, home improvement and architectural millwork, Wade Shaddy has worked in homebuilding considering that 1972. Shaddy has actually likewise worked as a paper reporter and writer, and as a contributing writer for Cycling Magazine. home service professionals. Shaddy began publishing in different publications in 1992, and released an unique, "Dark Canyon," in 2008.
Typical setup terms are listed below. Visit the complete glossary for extra details Windows/Doors should be secured to a structural member in the rough opening. Fastener type and accessory method depend on a number of factors such as window/door type, assemblies, wall type, construction type, structural anchoring product, place, and fastener embedment depth.
 Call us today for Home Improvement Project
Flashing must be used shingle fashion to direct water to the exterior. Flashing materials may be straight or formable self-adhered tape or liquid used. The water management system might be of the drain or barrier type. Openings should be sized to accommodate the window/door and to enable adequate space for squaring, shimming, insulating the window/door or assembly; and any extra allowances that need to be made to consist of flashing material stack-up, and signing up with products and fasteners - home service professionals.
Backer rod is utilized to restrict the sealant depth between the window frame and the rough opening, cladding, or trim - new windows. Sealant is utilized to avoid water and air infiltration by bridging the gap between the rough opening, window frame, and setup flange. Low expanding foam can also be used to offer an air seal between the window/door frame and the rough opening.
